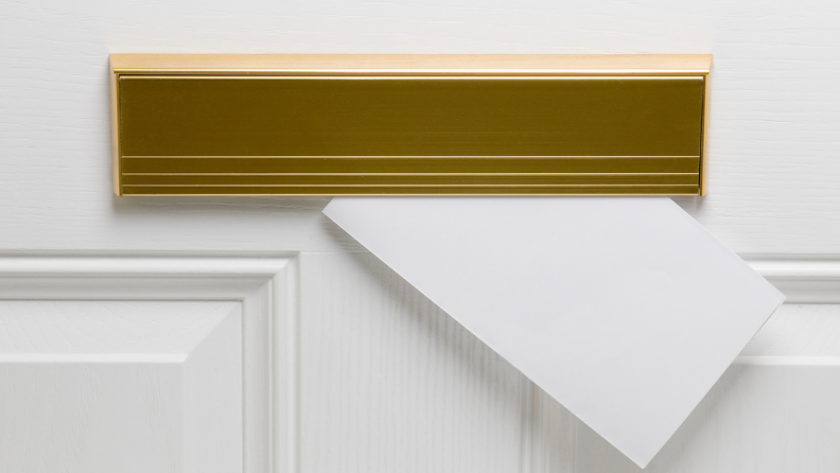
Fitting a Letterbox In an External Door
Most of us rarely even think about the existence of letterboxes. They’re one of those rare items that are so well designed, and do their job so well, that we take them for granted. However, letterboxes are not used everywhere in the world; many countries use external mailboxes instead of letterboxes, and this means that not all doors come with a letterbox pre-installed. If you have just purchased an external door that does not have a letterbox, read on for some step-by-step tips for fitting a secure, good looking letterbox.
Preparation
Give yourself plenty of time to work on fitting the letterbox. If you’re an experienced DIY practitioner, you should be able to complete the job in less than an hour, but it never hurts to give yourself some extra time. Rushing such an important job is not a good idea, because an incorrect cut could ruin the door.
Before you start the project, make sure you have all of the correct tools to hand. You will need the letterbox kit, a tape measure, some chalk or a soft pencil, safety glasses, a power drill with an appropriately sized bit, a jigsaw blade, sandpaper, a spirit level and a ruler.
Timing
The best time to install your letterbox is once the door is in position in the door frame. This makes it easier to see where the letterbox will sit, and also removes the problem of having to move and manipulate the door.
Instructions
The first thing to do is decide where the letterbox will sit. If you have a plain door, you can choose anywhere you wish for the letterbox. Try a few different positions to see how they look on the door. If you want your letter box to be in the center of the door, mark the height that you want the letter box to sit at, and draw a line across the door using a ruler. Measure the width of the door, and place another mark dead-center. Next, and place the letter box against the door so that the marking on the door is in center of the letter box. Draw around the letter box, and repeat the same markings on the other side of the door.
The markings show you where the letter box is supposed to go, but you don’t want to cut out the whole of that area. The hole only needs to be big enough to allow your mail to come through. Measure the smaller hole inside the letterbox, and draw a box inside your markings that is a couple of millimeters bigger than that hole. Use a spirit level to make sure that those holes are perfectly lined up and straight.
Now it’s time to make the hole. Use a large drill bit to drill a hole through the door in each of the corners of the area you have marked out. Drill slowly and keep the bit steady. Once the drill bit starts to poke out the other side of the door, stop drilling the hole from that side, and swap over to complete the hole.
Once you have four holes in the door, use your jigsaw to cut from one hole to the next. Again, work slowly and methodically. Once you have made the four cuts, the panel should simply fall out. Gently sand the area that you have cut so that it is smooth and clean.
Put the letterbox in place and use a pencil to mark the areas where you will need to make screw holes. Using an appropriately sized drill bit, drill those screw holes, taking care not to drill too deeply into the wood. Slot the letterbox in place, insert the draft excluder, if one came with your letterbox, tighten the screws and then sit back and admire your handiwork.


